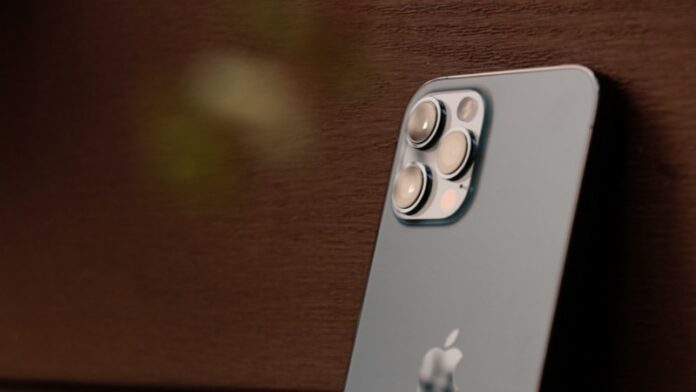
Along with the iPhone 12 series, Apple also introduced its own RAW photo format called ProRAW which is supported on the latest iPhone 12 series (excluding the regular 12 and the 12 Mini) running iOS 14.3. This new format offers the traditional benefits of RAW with an added bonus of Apple’s image processing. Follow along for why and how to use ProRAW on iPhone 12 Pro.
Apple’s ProRAW on iPhone 12 uses the universal DNG file format. If you’re not already aware, file sizes for RAW or in this case ProRAW images are much larger than HEIF/JPG compressed images. Apple says that most ProRAW images shot on iPhone 12 Pro will be about 25MB (roughly 10x larger than HEIF/JPG) but they can go up to 40MB.
![]()
However, ProRAW has an additional benefit, shooting ProRAW images results in an output of an uncompressed image along with the maximum data from the sensor resulting in a lot more flexibility when it comes to editing. Apple’s ProRAW supports shooting in 12-bit colour support (compared to 8-bit with the regular mode); while that number doesn’t sound impressive to a casual person who shoots images, it is actually a jump from 256 RGB shades to a massive 4,096. This new camera trick still gets Apple’s impressive computational photo processing and the images come out to be pretty good.
How to Enable/Disable RAW Photos on iPhone 12 Pro or 12 Pro Max
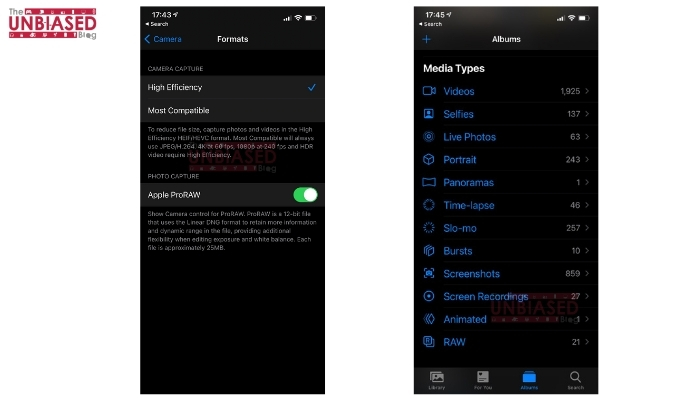
- Start by heading over to Settings
- Scroll down, find and choose Camera
- Here, click on Formats present at the top
- Finally, toggle on Apple ProRAW
Now that it has been enabled in Settings, head over to your camera app and adjust a couple of settings before starting to shoot in ProRAW

- In the camera application, you’ll find a RAW icon in the top right corner
- Tap on RAW to enable it for a photo.
- Once you shoot an image with ProRAW enabled, you’ll see the RAW label in the top left corner in the Photos app when looking at your images.
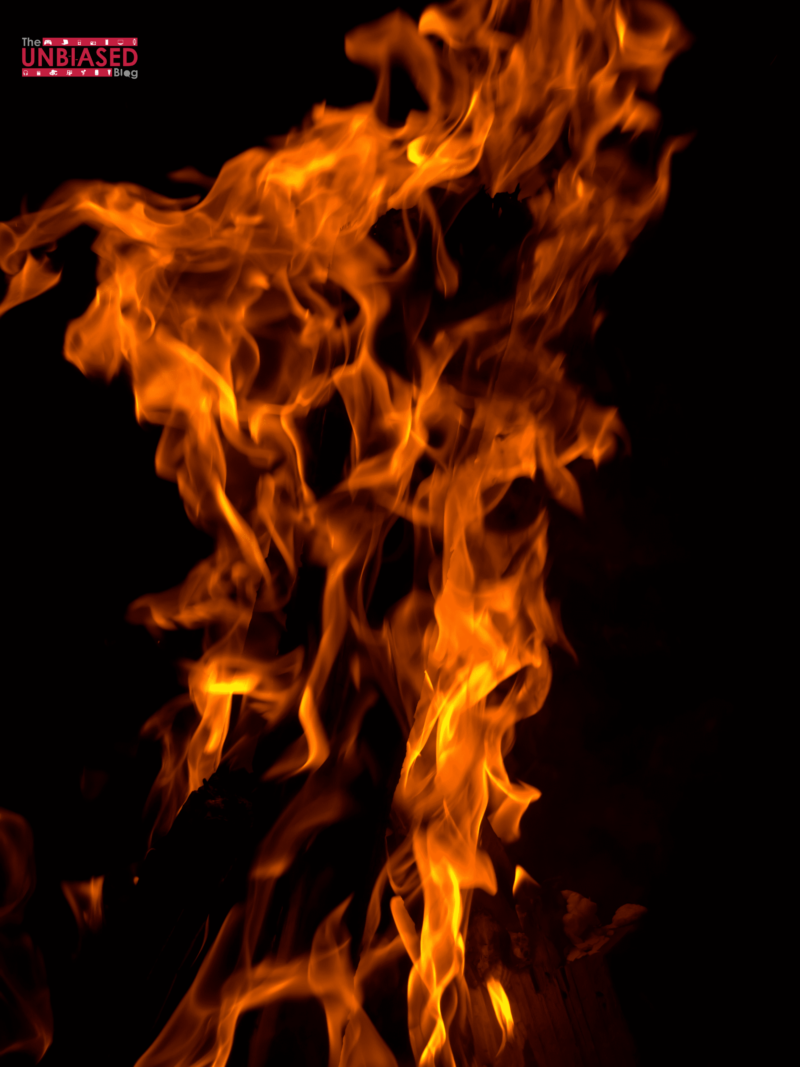
Apple Pro RAW Samples
That said, how much of a difference did you notice while shooting images? Do let us know by dropping a comment down below.
